
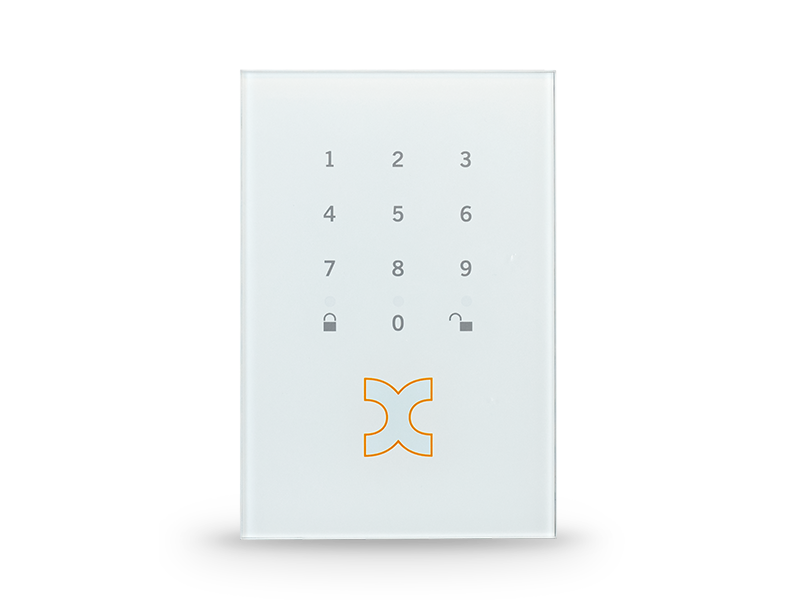
The KeyPad is used to arm and disarm the AlarmManager on-site. Like the MultiSensors, the KeyPad is integrated into the AlarmManager’s ZigBee© wireless network. Please note, however, that the KeyPad does not function as a router and cannot affect the network’s range.
The KeyPad turns on when any key is pressed. The maximum operating time is then approx. 10 seconds. Within this time, an assigned alarm zone can be armed or disarmed.
Safety instructions
No modifications of any kind may be made to Kentix GmbH products, with the exception of those described in the relevant instructions.
When installing Kentix devices, certain degrees of protection must be guaranteed.
Observe the relevant regulations for installations in the respective environment.
Only operate the products within the defined temperature range.
The instructions should be passed on to the user by the person carrying out the installation.
Kentix accepts no liability for damage to the devices or components caused by incorrect installation. Kentix accepts no liability for incorrectly programmed units.
Kentix accepts no liability for faults, material damage or other damage.
moisture, dirt and damage during transportation, storage and operation.
Only operate the products within the defined temperature range.
Installation and battery replacement may only be carried out by trained specialist personnel in accordance with the instructions.
Do not charge, short-circuit, open or heat batteries.
Observe the correct polarity when inserting the batteries.
The devices must always be operated with the batteries intended for the product.
When changing the batteries, always replace all batteries.
Dispose of old or used batteries properly.
Keep batteries out of the reach of children.
Controls
Front
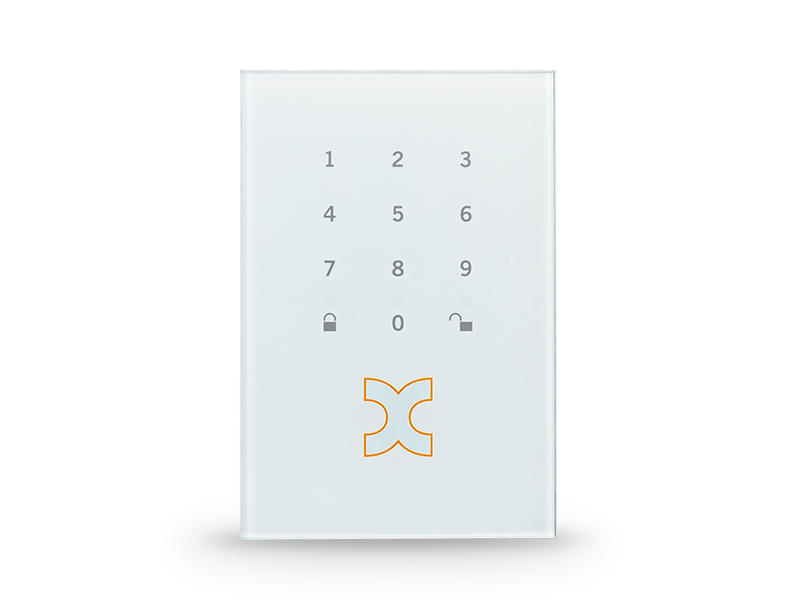
Key layout
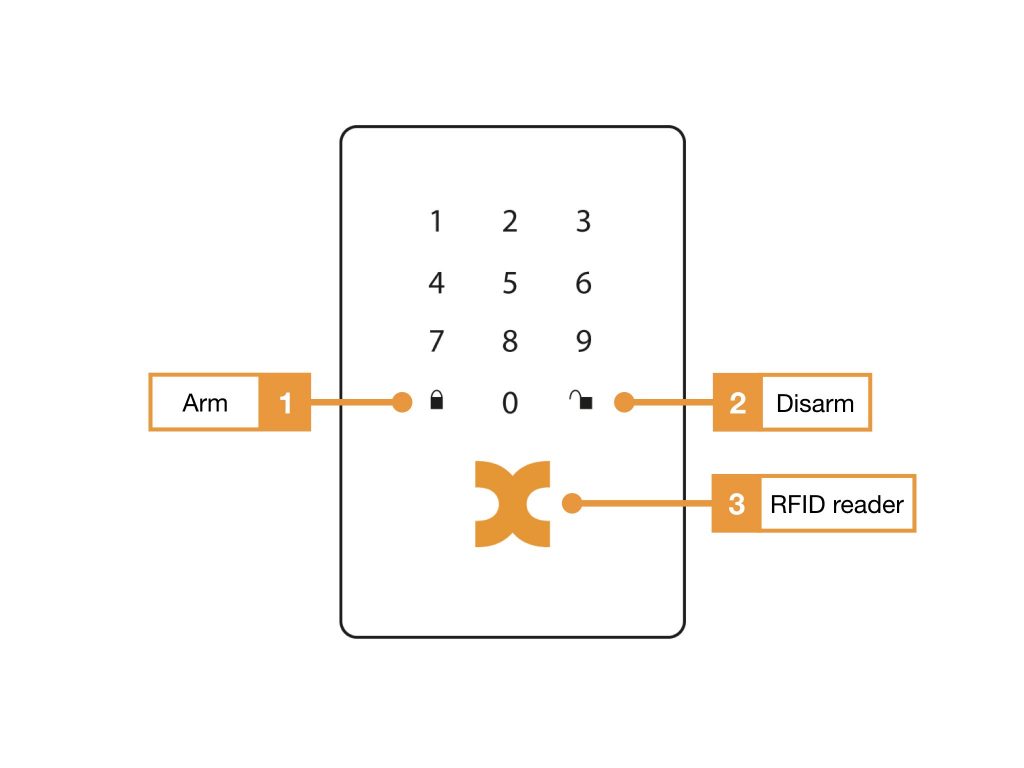
- Arming – Leaving the Room
OK: 5-second audible signal (on/off), arming LED flashes green , MultiSensors emit an audible signal according to the set delay time.
Not OK: 3-second audible signal (on/off), arming LED flashes red - Disabling – Entering a room
OK: 1-second continuous audible signal on the keypad and MultiSensors; LED stays on continuously - RFID reading range: Hold the RFID card as centered as possible on the reader. The function is executed immediately after the correct reading.
Internal controls
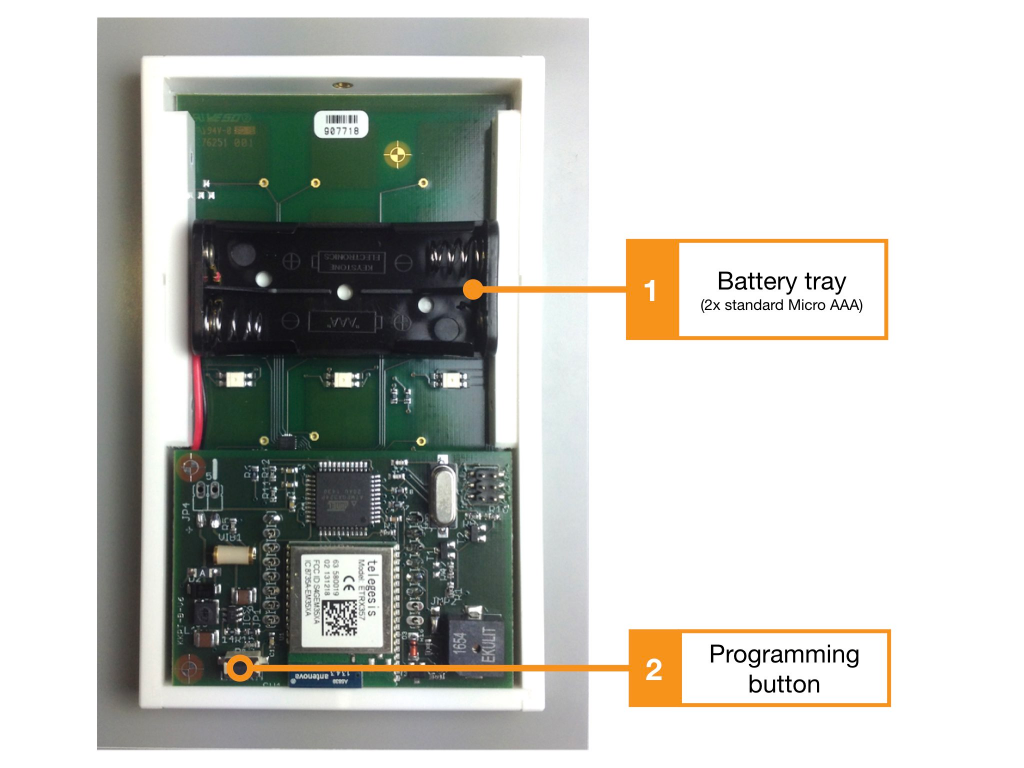
- Battery compartment: two AAA 1.5 V batteries are required to operate the device
- Teach-in key: This key is used to teach the device into the wireless network. To teach-in the sensor in KentixOne, start the teach-in process and then press the teach-in button for 3sec. Press until a signal tone is heard
Connect with WLAN
To add a KeyPad-Touch to KentixONE, select the “+” icon under the “Alarm Zones” heading on the dashboard, and then select “MultiSensor (Wireless).”
Press the teach-in button for 3 seconds, which you reach via the recess on the back of the housing (2), until an acoustic signal sounds
The sensor should be detected within 15-20 seconds. The configuration mask for the sensor is then opened directly. The teach-in process is now complete
Operation via RFID
To operate the KeyPad using an RFID card, you can use the card for authentication instead of the 4-digit PIN.
To do this, activate the KeyPad and then hold your RFID card in front of the X.
Teach-in user / RFID cards
New RFID cards are read in via the user configuration in KentixOne on a KeyPad.