Here you will find instructions on how to downgrade Kentix devices that have already been shipped with KentixONE software (version 8.x or higher) to the latest version of KentixOS (7.x until the end of 2022). This is necessary if you want to upgrade an existing KentixOS system without migrating to the latest KentixONE software version.
Follow these steps to downgrade the software:
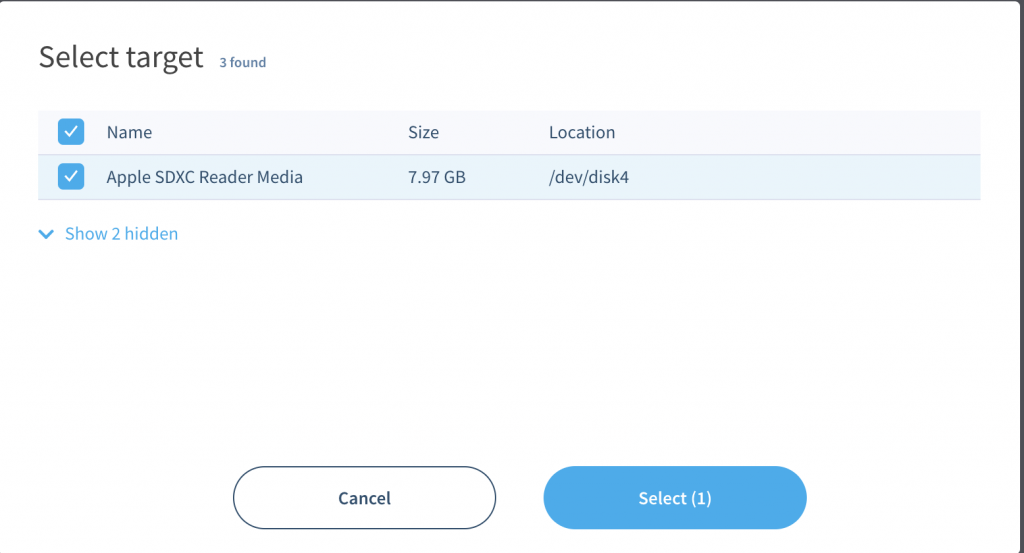
- You need a FAT32 formatted microSD card with a memory size of at least 4GB (Our recommendation is 4 – 64GB).
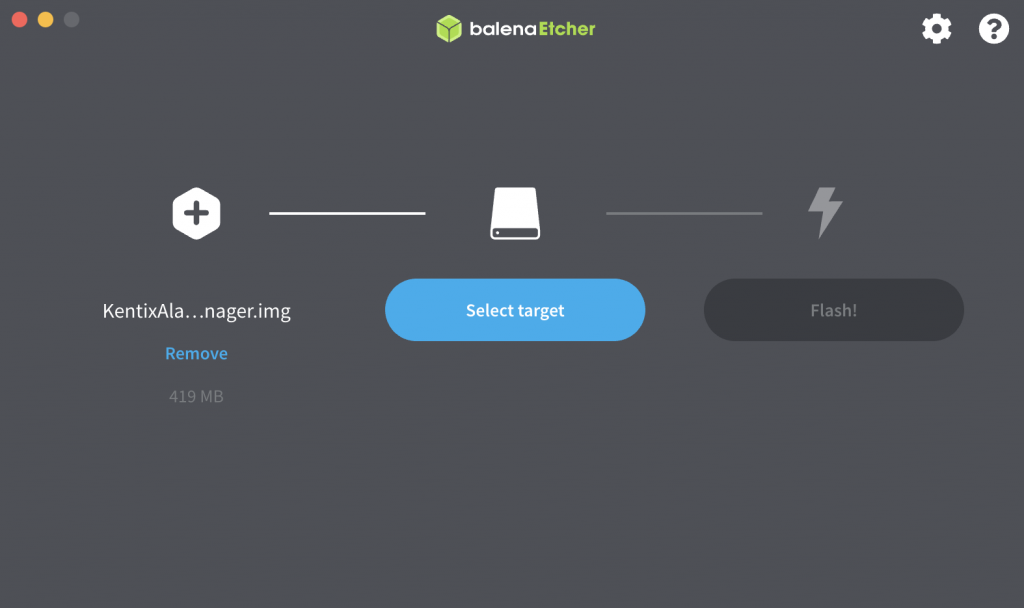
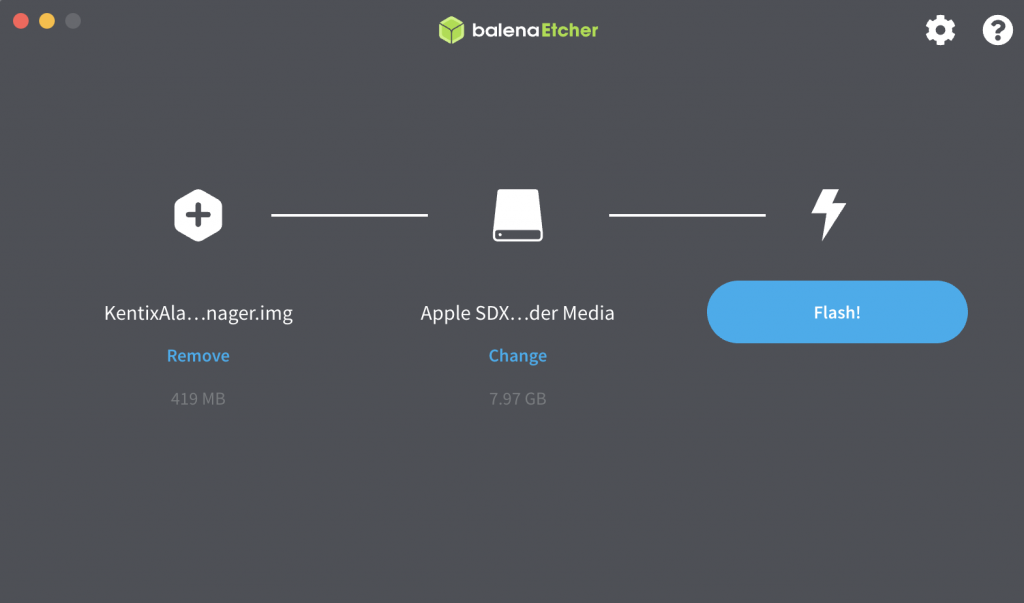
- Perform a download of the downgrade file for your required device here. As a download you will receive a ZIP file. This must be unpacked, in it is then the image file, e.g. “KentixAlarmManager.img”.
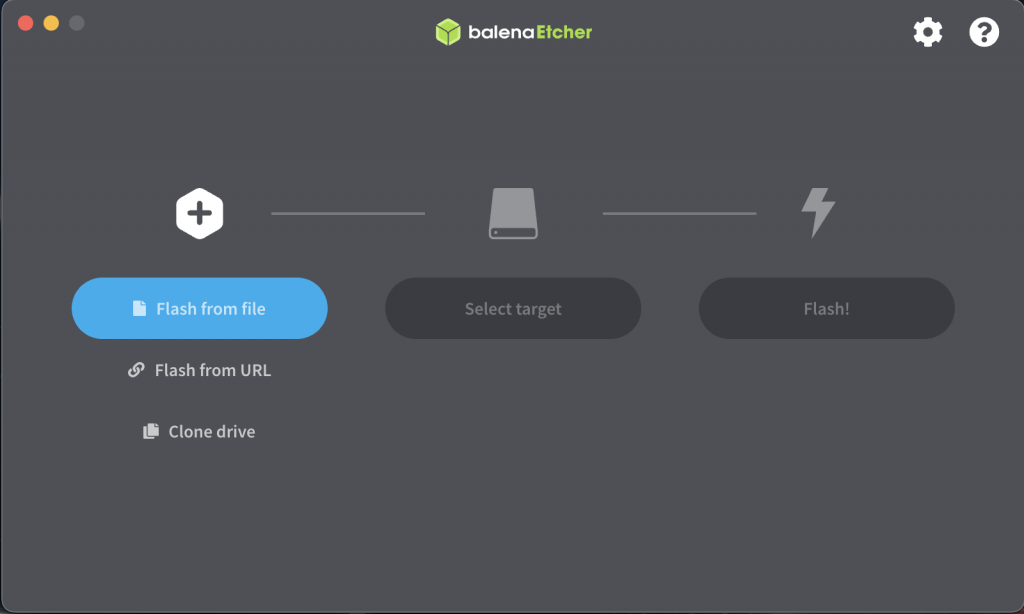
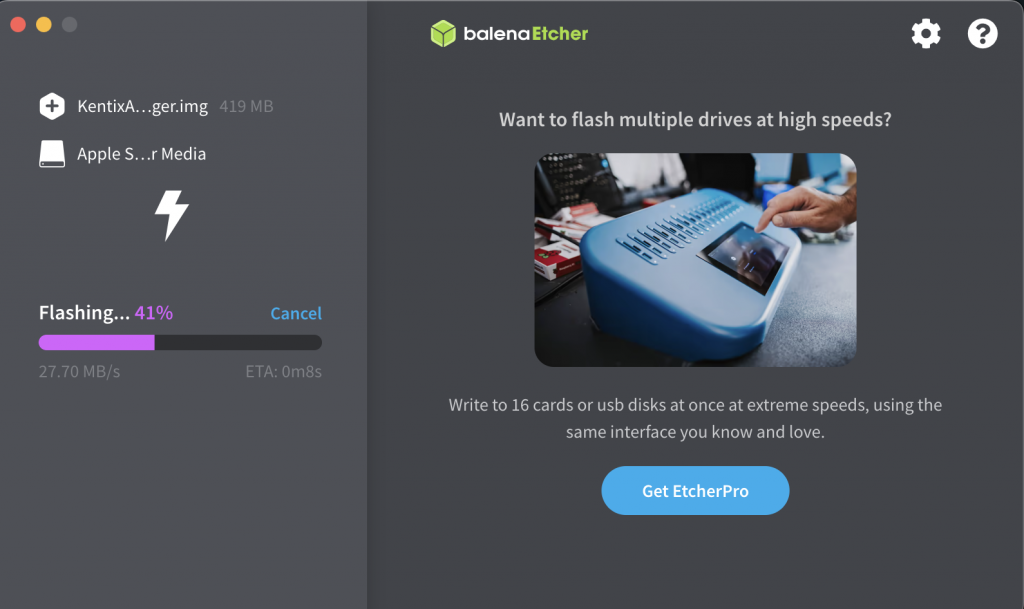
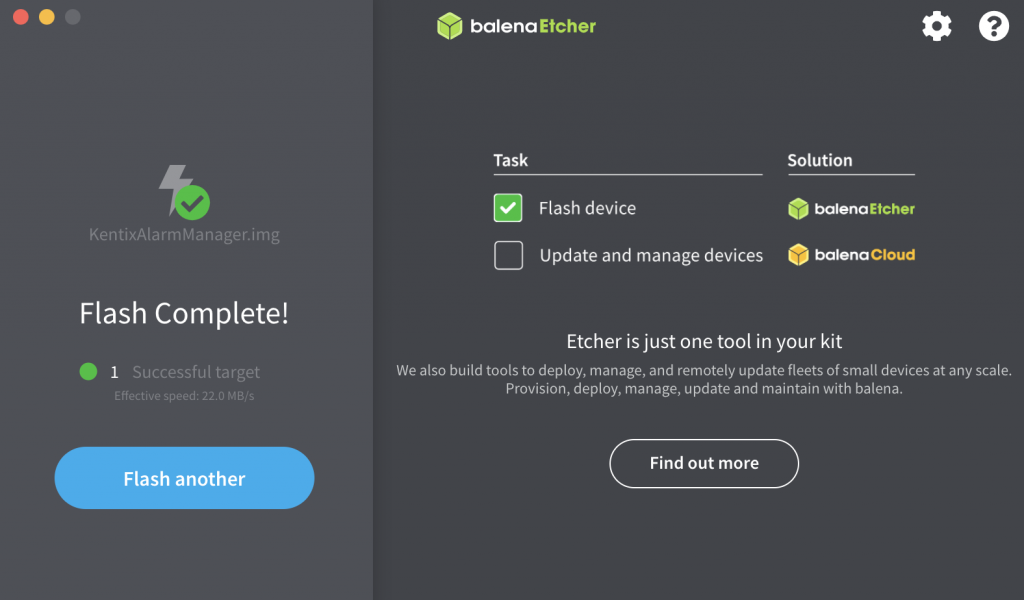
- Now flash the image file to the SD card with the help of the “balena Etcher” software. The software “balena Etcher” is a simple software tool to provide SD cards with bootable images. You can find the software free of charge for all operating systems at this link https://www.balena.io/etcher
- In the next step, de-energize your Kentix device by removing the network cable and insert the prepared SD card
- Start the device by connecting the network cable, the downgrade process will be started
- The downgrade process takes about 5min, the end is signaled by a buzzer of the device
- Now disconnect the network cable again and remove the SD card
- The device starts with the factory settings of the respective device version and can be reached either via DHCP or the printed fallback IP address in the network with the default user name “admin” and the password “password”.
- You can now integrate with your inventory system as usual. Make sure that all devices have the same version status.
Screenshots of the balena Etcher software during the process of creating the bootable SD card.