
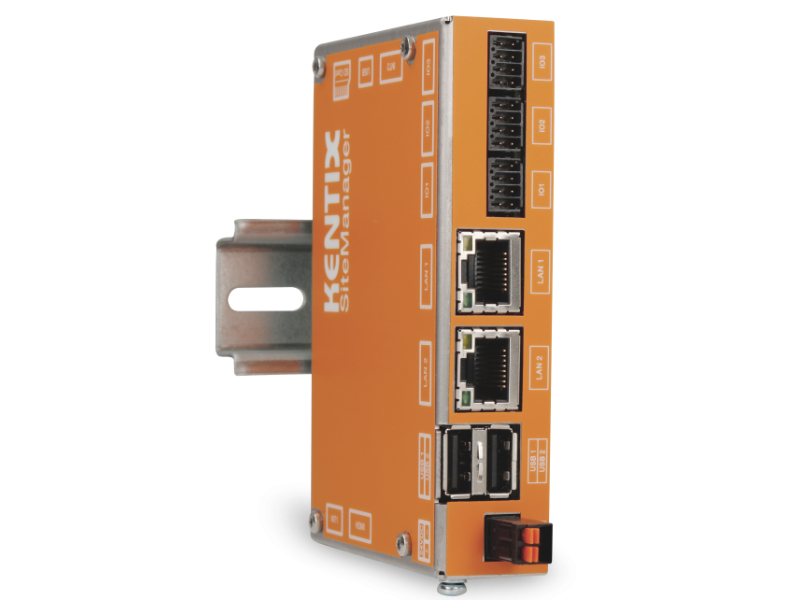
Datasheet SiteManager
The Kentix SiteManager is the central KentixONE control unit for up to 250 devices. All devices used for access control(SmartAccess), building security(SmartMonitoring) and IT security(SmartPDU) are monitored by the SiteManager and their data evaluated.
It manages all master data such as users, access, alarm groups as well as devices and their sensors.
Safety instructions
No modifications of any kind, other than those described in an appropriate manual, are permitted to Kentix GmbH products.
Certain levels of protection must be provided when installing Kentix equipment.
Observe the relevant regulations for installations in the respective environment.
Only operate the products within the defined temperature range.
The instructions should be passed on to the user by the person carrying out the installation.
Kentix accepts no liability for damage to the equipment or components resulting from incorrect installation. No liability is accepted for incorrectly programmed units.
Kentix shall not be liable in the event of malfunctions, damage to property or other damage.
Protect moisture, dirt and damage.
Only operate the products within the defined temperature range.
Installation and battery replacement may only be carried out by trained personnel in accordance with the instructions.
Do not charge, short circuit, open or heat batteries.
When inserting the batteries, pay attention to the correct polarity.
The devices must always be operated with the batteries intended for the product.
When changing batteries, always replace all batteries.
Dispose of old or used batteries properly.
Keep batteries out of the reach of children.
Connection and operating elements
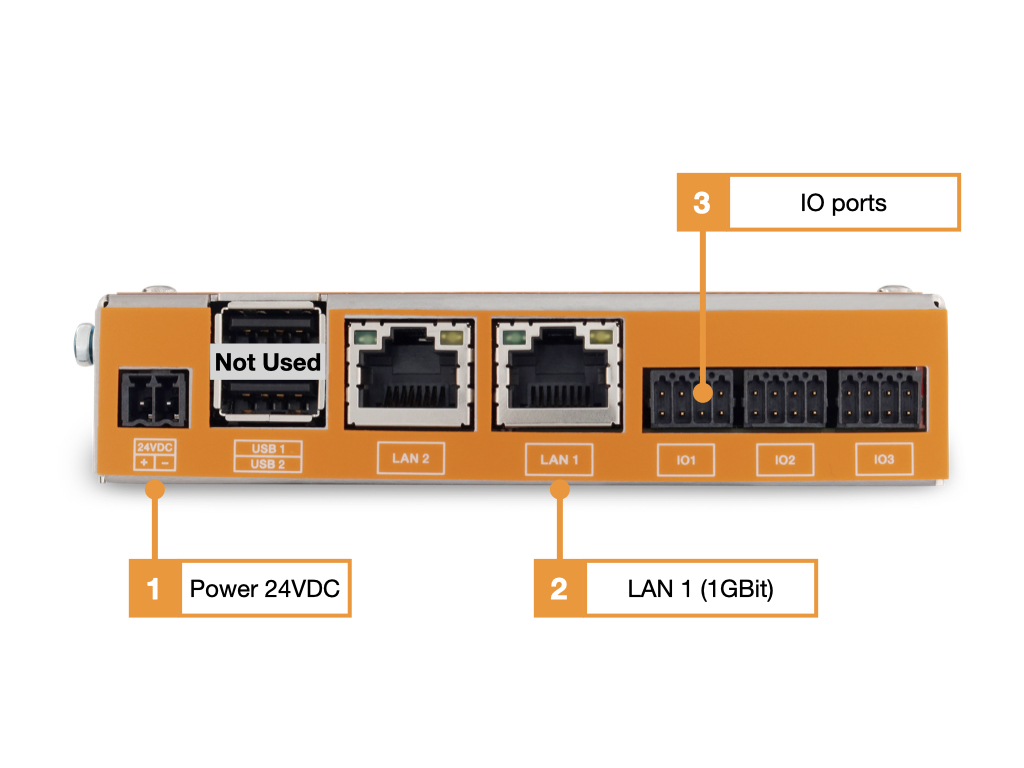
- Power supply 24VDC/10Watt (plug-in power supply included)
- Network LAN1 (1GBit), Network LAN2 (100Mbit)
- IO ports (For future use)
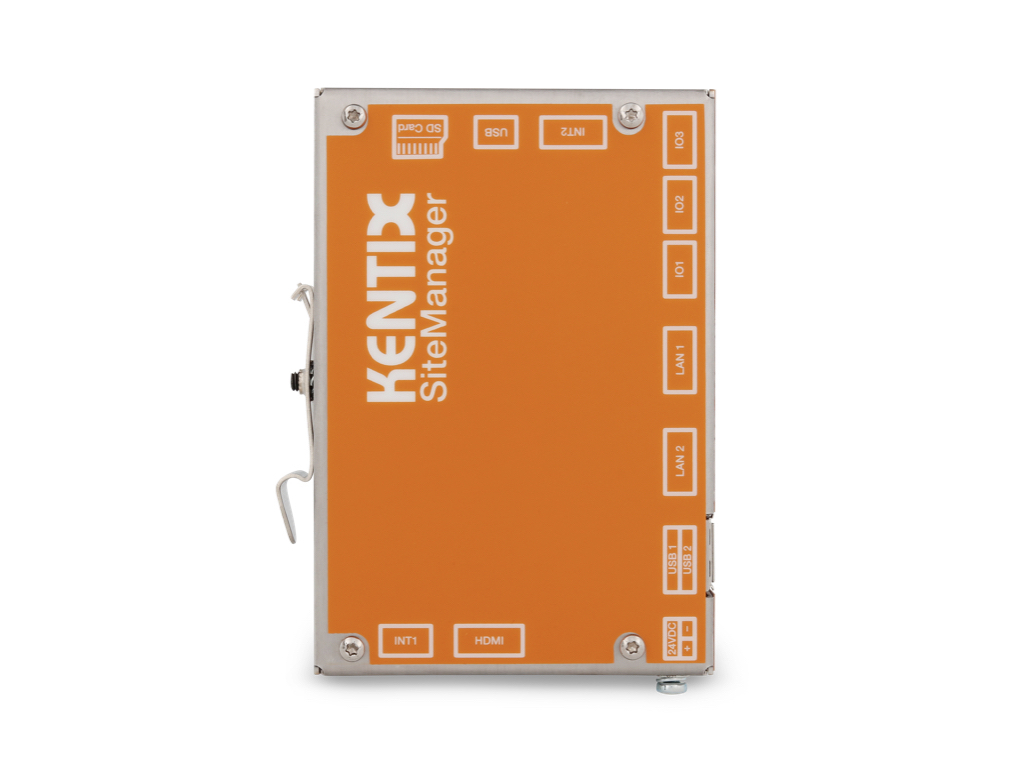
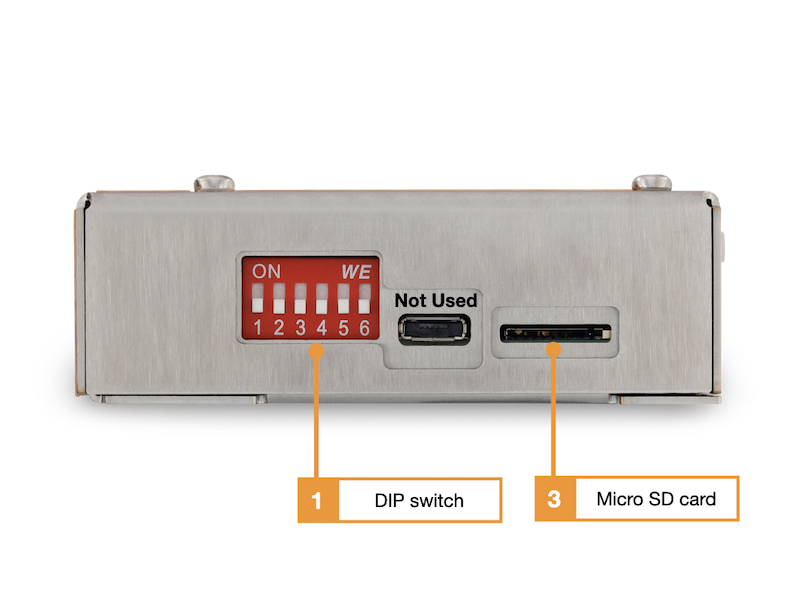
- DIP switch (not used)
- Micro SD card (recommendation SD card > 32GB)
Start the device and find it in the network
- Establish the power supply to the device.
- Connect your PC and the Kentix device to the same network and adjust the PC’s network settings if necessary.
- The device receives an IP address via DHCP from your network. At the same time the fallback address 192.168.100.22x (see sticker on the product) is active in factory settings.
- Find the device in the network: You can determine the address assigned by DHCP on your switch or by means of software such as “LanScan” for MacOS or “Advanced IP Scanner” for Windows. Search for a MAC address with“70:82:0e:xx:xx:xx”. Typically, the associated device name will also be“Kentix-72820e……“, with the last 6 digits in MAC and name assigned individually for their device.

- Call the determined IP address with a browser of your choice (“http://Device-IpAddress”).
Configuration with KentixONE
The device is configured via the web browser in KentixONE. The device must be accessible to the central KentixONE instance on the network side. Depending on the device type, a communication key and the IP address or DHCP name of the central KentixONE instance must also be set on the device (MultiSensors, AccessManager, SmartPDU). IP cameras or IO modules, on the other hand, can be integrated directly into KentixONE.
All information about the software is available in the KentixONE section and the related documentation.
Further information
For more information on how to build a KentixOne system and how to extend it, see the tutorial videos.